


Print Ready Artwork Set Up
What is print ready artwork?
‘Print Ready Artwork’ means we can process your artwork without having to re-size or edit in any way. Artwork will vary from product to product but there are a few basic things to consider when creating your artwork so that you receive the highest quality prints possible. We always recommend using qualified graphic designers where possible and if you don’t feel confident in creating artwork our in-house team are always happy to help.
Recommended Design Software
We always recomend using Adobe Illustrator where possible, it is graphic software specifically designed for producing high quality print layouts with both vector and raster elements. All the examples on this page are based on this software as it is what we use in-house.
Always Use

Adobe Illustrator©
We highly recommend using Illustrator to create your print files. It is what all the below examples are based on and is the software we use in-house.
Recommended

Adobe InDesign©
InDesign can be used to create print ready artwork if you are more comfortable with this software but it is not ideal when working with cutlines or complex shapes.
Not Recommended

Adobe Photoshop©
Canva©
While possible to create artwork with these solutions there is often problems relating to file sizes and compatibility. Shape cut files cannot be created easily with these programs.
Do Not Use

Microsoft Word©
Microsoft Powerpoint©
These can be used to create a very rough mock-up of what you require but cannot produce print ready artwork.
Important Artwork Requirements
Set Artwork To Correct Size
Always make sure that supplied artwork is set to the correct size as requested, this is the most common artwork mistake we come across.
Include Artwork Bleed
Artwork bleed is required so that when we trim your product to size we can ensure the colour runs right to the edge. We always recommend at least 5mm of bleed.
Use Vector Elements
All text and graphic elements such as logos should be created in a vector format where possible. This ensures print is the highest quality and keeps file sizes low.
Raster/Bitmap Elements
When using images ensure they are the highest quality possible. To keep files sizes low use our guide to saving out PDF’s.
Outline All Fonts
All fonts should be outlined in the file or for larger projects you can supply us with the font file. This allows us to make changes easily if required.
Embed All Images
All linked images used in the design must be embedded prior to saving. This allows us to make changes easily if required.
Cut Lines (If Applicable)
For shape cut production please follow our guide to setting up a cut line. Pay close attention to naming layers and how you save your file out.
Saving Out PDF's
Using the right settings when saving out your PDF ensures file sizes stay low and your artwork can be easily handled once we receive them.
Artwork Set Up Guides
Artboard Setup
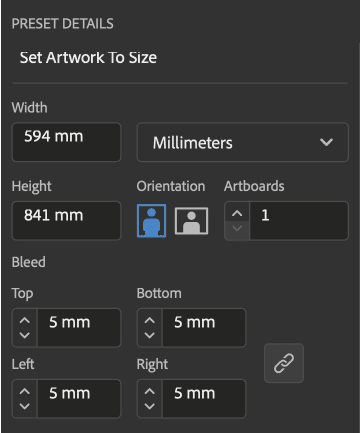
To ensure your artwork is produced correctly the first step is always set your artwork up to the size you want to receive it. Using millimetres as the size reference ensures we can easily check it has been set-up correctly when we receive your files.
Setting Up Bleed
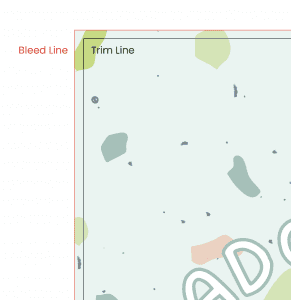
‘Bleed’ is term used to describe the excess print that gets trimmed away when cutting. Artwork without bleed can have a thin white line along the edges as prints can move slightly during trimming. To avoid this we add an extra 5mm of bleed to artwork to ensure your prints will have perfect colour edge to edge. To do this simply add 5mm bleed to your project, in Illustrator this can be found under File>Document Setup. Once added your artboard will show a red line which represents your bleed line, all artwork must be pushed out to touch this line keeping in mind anything between the artboard and this line will be trimmed away. Always ensure important information sits well within you artboard.
Using Vector Elements
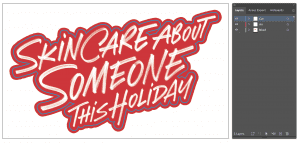
Vector files use lines and curves with fixed points on a grid to produce an image. There are no pixels in a vector file. A vector file uses mathematical formulas to capture shape, border, and fill colour to build an image. This means you can scale them to any size without affecting its quality. A common example of vector are fonts, which can be scaled and re-shaped without any quality loss. Vector elements are extremely important in graphic design to keep file sizes low and for versatility with things like logos that need to be printed at a huge range of sizes.
Common file types include: PDF, EPS, AI & SVG
Explanation Video
Using Images
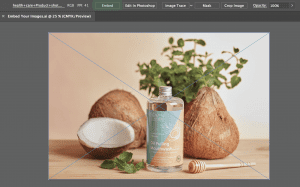
Raster files are images built from pixels — tiny colour squares that, in great quantity, can form highly detailed images such as photographs. The more pixels an image has, the higher quality it will be, and vice versa. We always recommend using the highest quality image you can obtain but you may need to compress the file when saving as large images can leave you with huge files. For tips on reducing larger files without losing quality follow the ‘Saving Out PDF’s’ guide below.
Common file types include: JPEG, PNG & TIFF
Explanation Video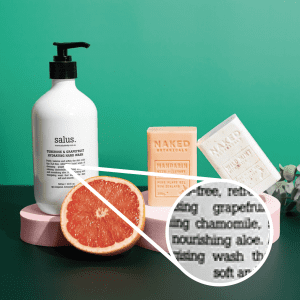
Outlining Fonts
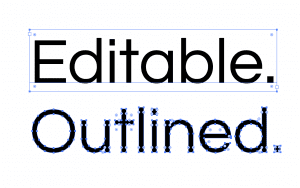
In order to be able to edit text, font files are stored on your computer. This means that if you send us a file that includes a font we don’t have installed we can no longer open and edit that file if required. To avoid this we ask that all print ready artwork supplied have the fonts outlined, you can do this easily in Illustrator by selecting all the text in your project and going to Type>Create Outlines. We highly recomend saving out a working file before you do this as once fonts are outlined you can no longer edit them easily.
Embed Images
Illustrator has a great feature that allows you to drag images in and simply ‘Link’ the file to where it sits on your computer. This means that if you touch up or change that image it will update it in your Illustrator project. This can cause issues when you send the file as when someone else tries to open it the ‘Links’ become broken as the image files are only saved on your computer. To avoid this you must embed the images before saving out the final file. You can do this by simply selecting the image and clicking the embed button that should appear in the top left of your screen.
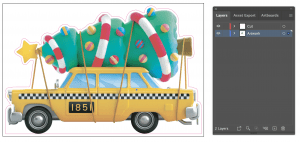
Creating Cut Lines & Layers
For anything that is not being trimmed to a rectangle we require cut or dielines. A cut line is simply a vector path that our digital cutters will follow to create shape cut products. Creating a vector path can be done many ways and I would recommend checking out youtube if you haven’t done it before and want to have a go. Once you have your cut line you simply need to create a seperate layer named ‘Cut’ and make sure only your cut path is placed on this layer. Then make sure your artwork is placed on a layer below simply named ‘Art’. Continue on to the sections below for tips on including bleed and saving these files out correctly with layers.
Creating Bleed For Shape Cut Production
To learn about the basics of bleed and why it’s required please read ‘Adding Bleed’ above. The difference for shape cut production is that it doesn’t have to be added to the artboard but instead around the cut line. This process is handled differently depending on the art but basically you want around 5mm of colour bleeding out past the cut line. A useful tip is to create a 3rd layer named ‘ Bleed’ under the art layer, this means you won’t interfere with you art when creating the bleed. For vector artworks the tool Object>Path>Offset Path can be useful for quickly expanding all of your elements by a set amount.
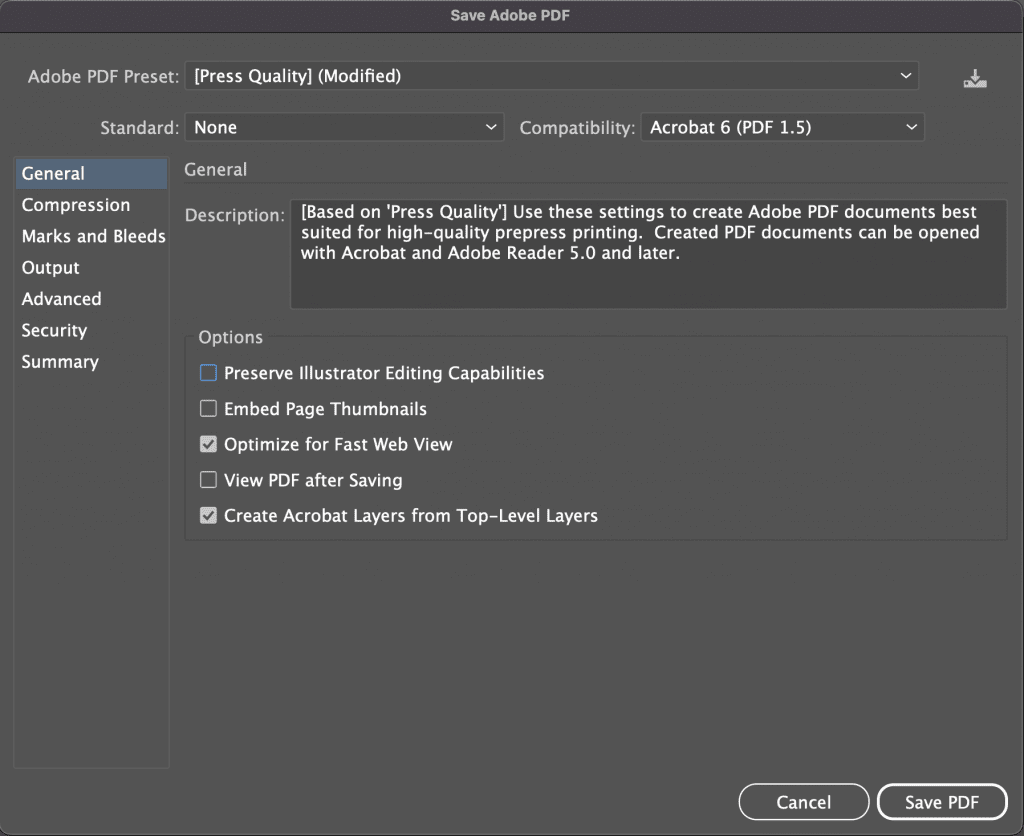
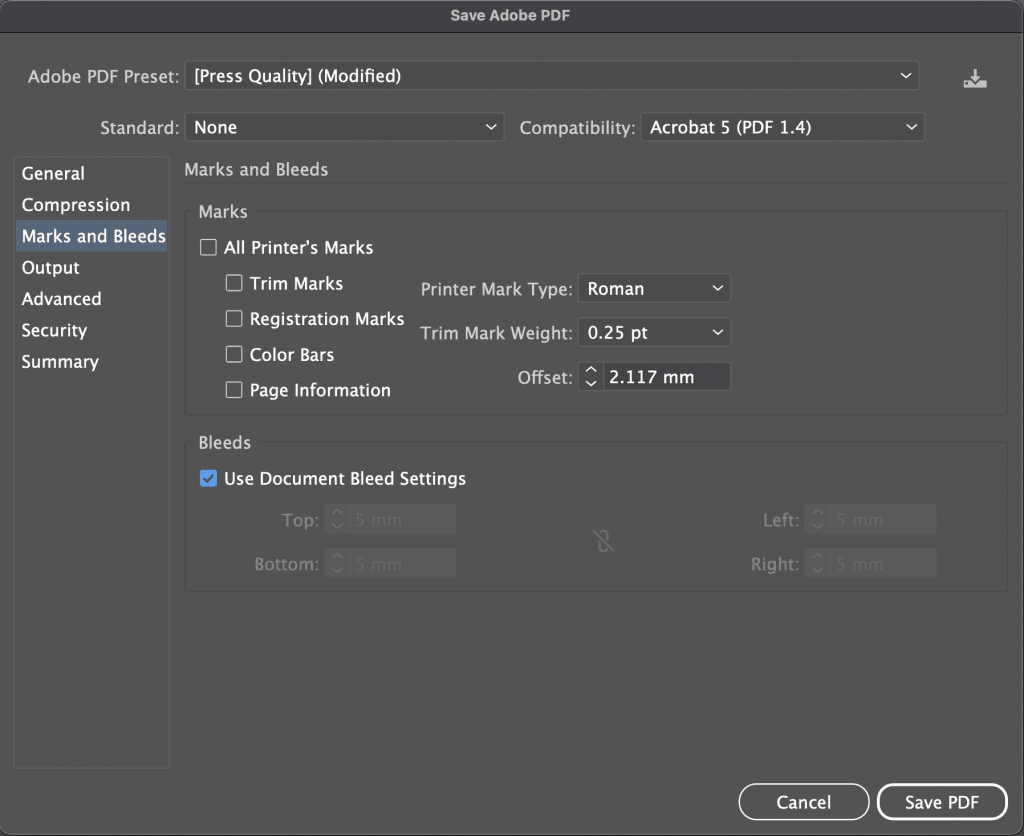
Saving Out PDF’s
Once you have your artwork finalised we recommend saving out a .AI working file that you can go back to and edit later if required. After saving the working file make sure you embed your images and outline your fonts before you export your PDF.
Option 1: Files < 20mb
For files that save out to be less 20mb you can simply go to File>Save As – name your file something suitable with the size in the name then make sure you have ‘Illustrator Default’ selected as your preset. If this method gives you a file that is less than 20mb then you have created your print ready files.
Option 2: Reducing Large Files
This next method allows you to save out your file with reduced size but you won’t be able to edit them later so make sure you save a working copy.
This method should hopefully reduce your file size however large prints with high quality images will still leave large files.
Option 1

Option 2
Vector VS Raster | Understanding The Difference
Understanding Vector vs Raster
After this short video you will understand the difference between these two graphic formats and when to use them in your graphic design.